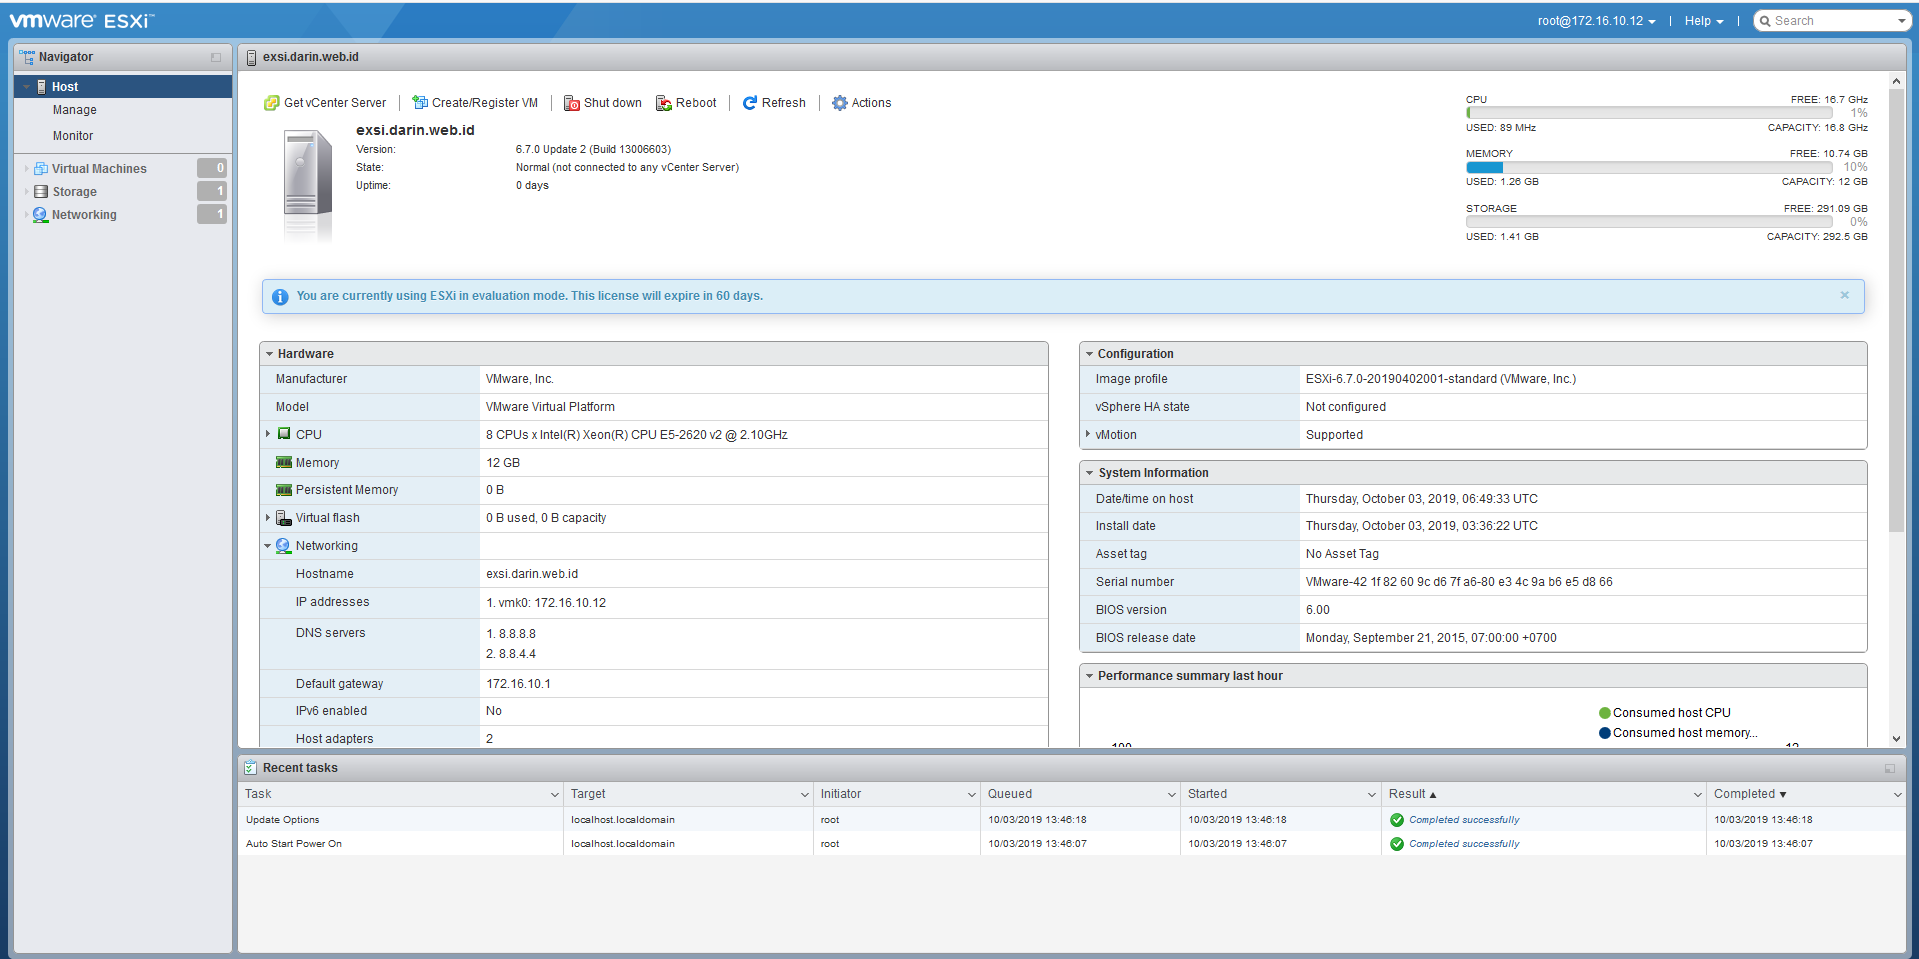
Install and Configure EXSi 6.7
Minimum Requirements https://docs.vmware.com/en/VMware-vSphere/6.7
vSphere Installation Workflow
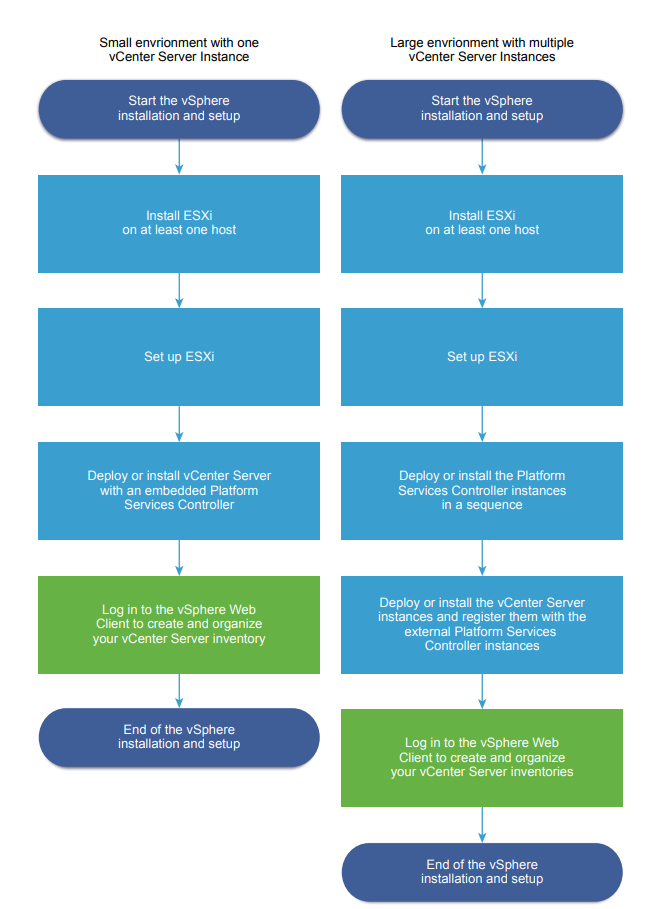
Installation Procedure https://docs.vmware.com/en/VMware-vSphere/6.7/vsphere-esxi-67-installation-setup-guide.pdf
Summary of installation
-
Verify that your system meets the minimum hardware and system requirements.
-
Determine where you want to locate and boot the ESXi installer.
-
Insert the ESXi installer CD/DVD into the CD/DVD-ROM drive, or attach the Installer USB flash drive and restart the machine. Set the BIOS to boot from the CD-ROM device or the USB flash drive.
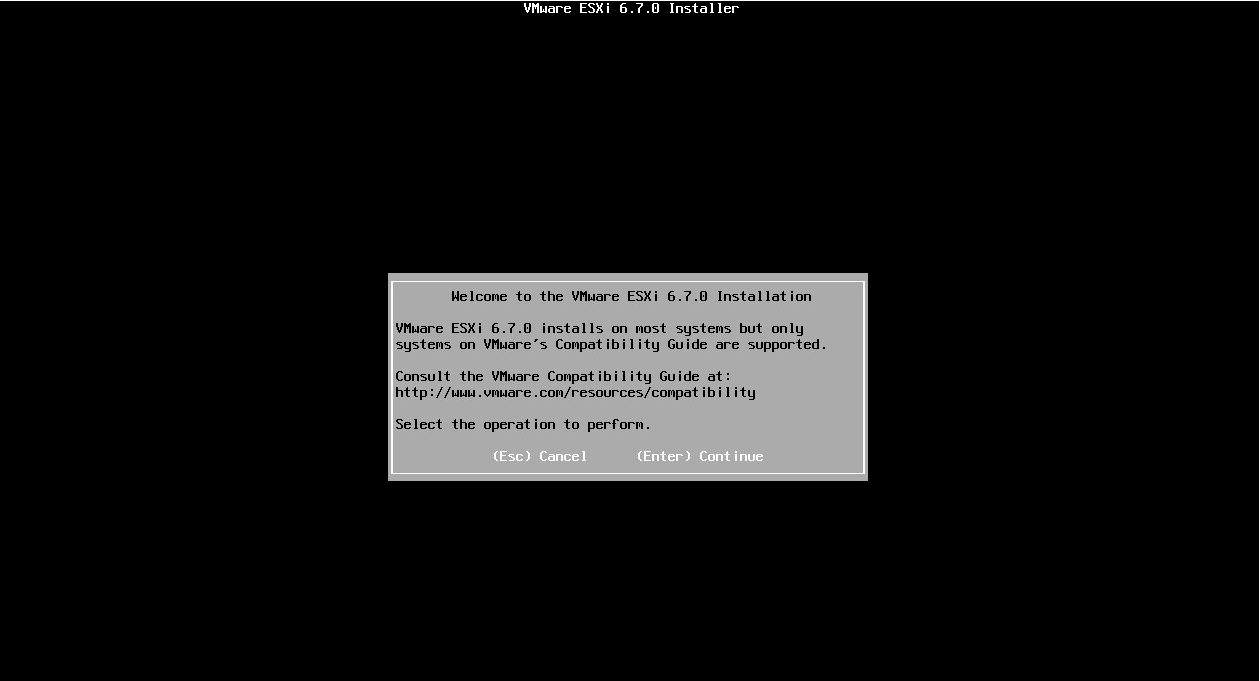
-
Read and accept the agreement, continue.
-
On the Select a Disk page, select the drive on which to install ESXi, and press Enter.
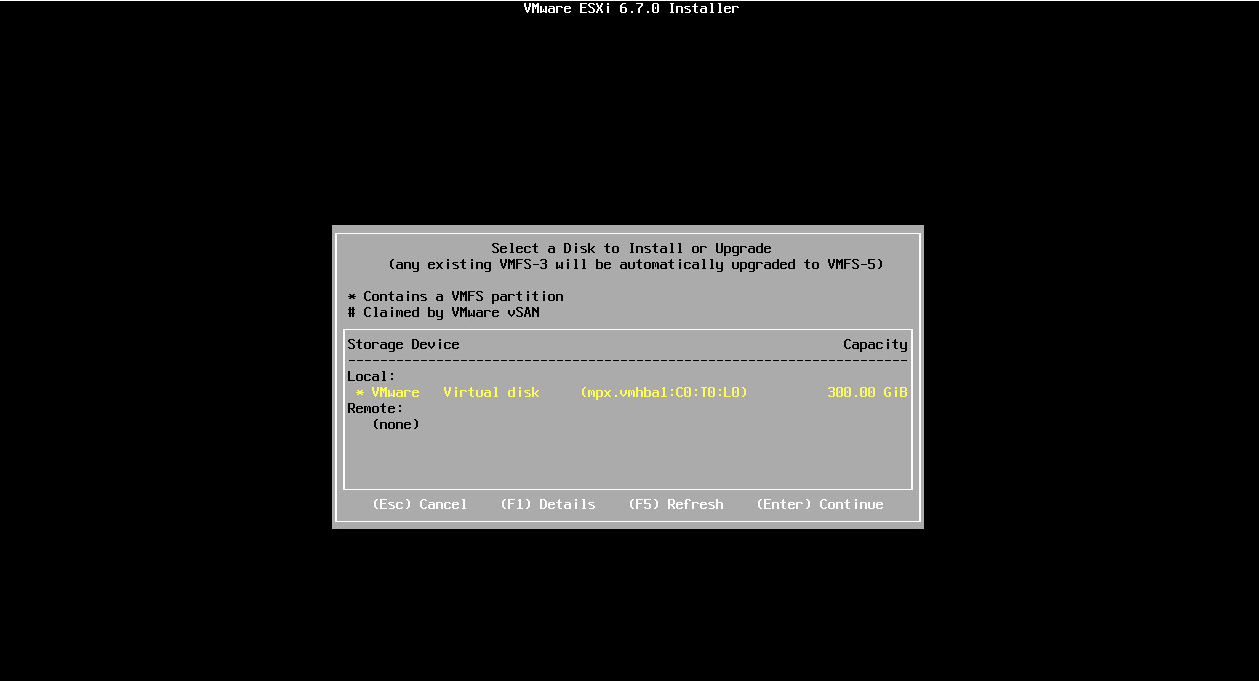
-
Select the keyboard type for the host.
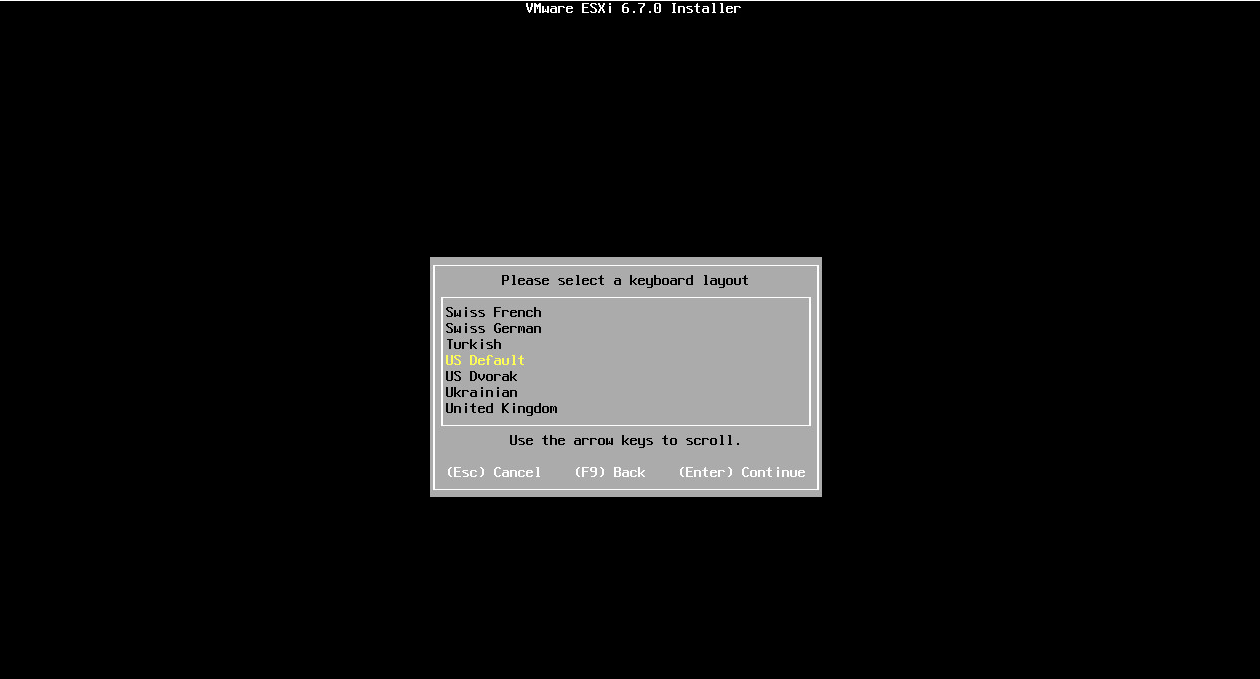
-
Enter the root password for the host.
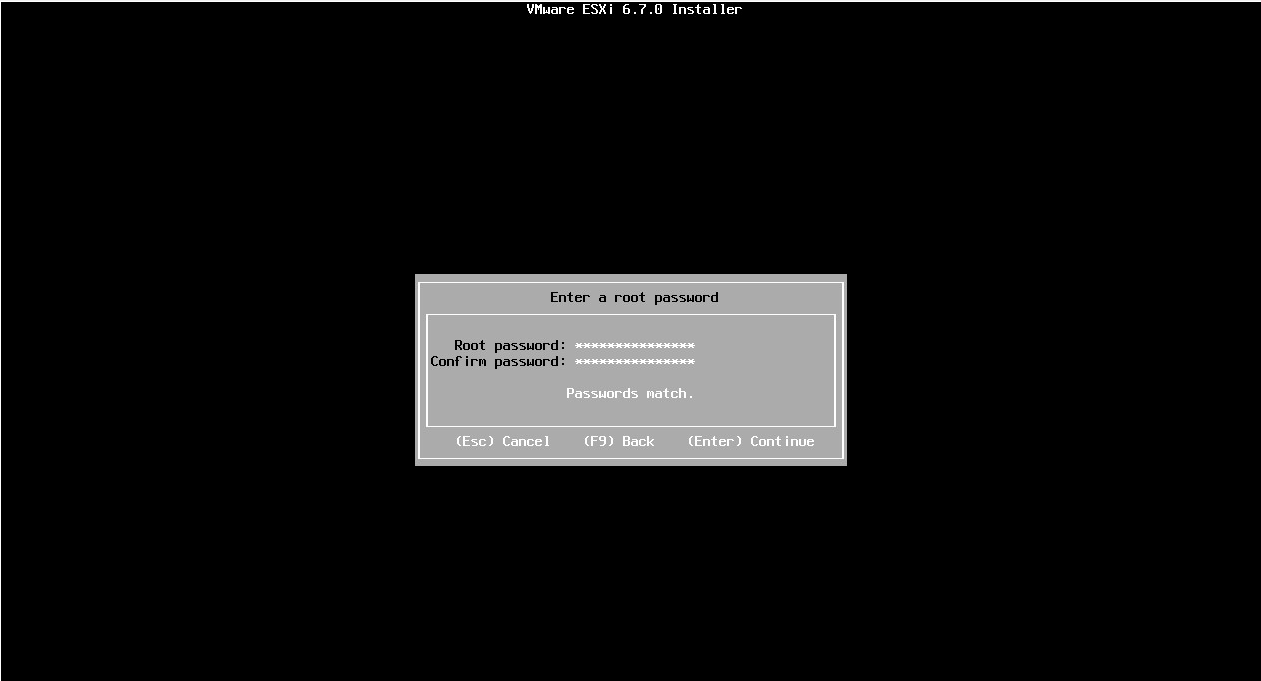
-
Confirm the installation process.
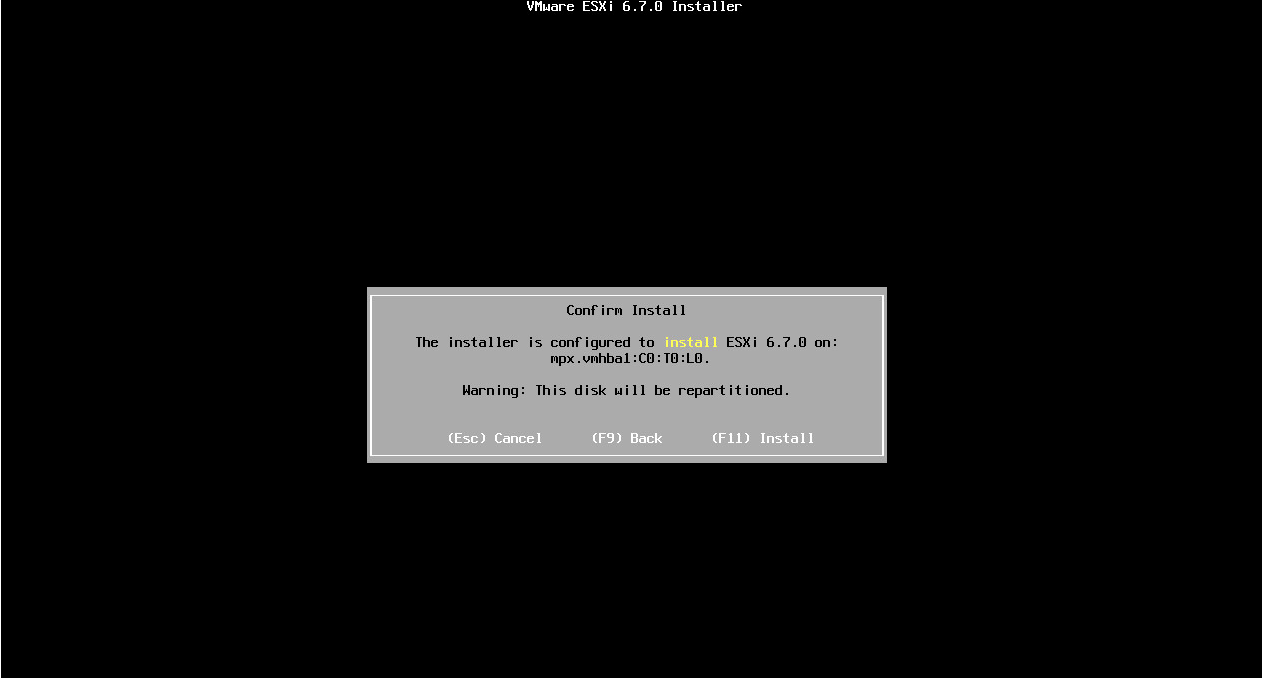
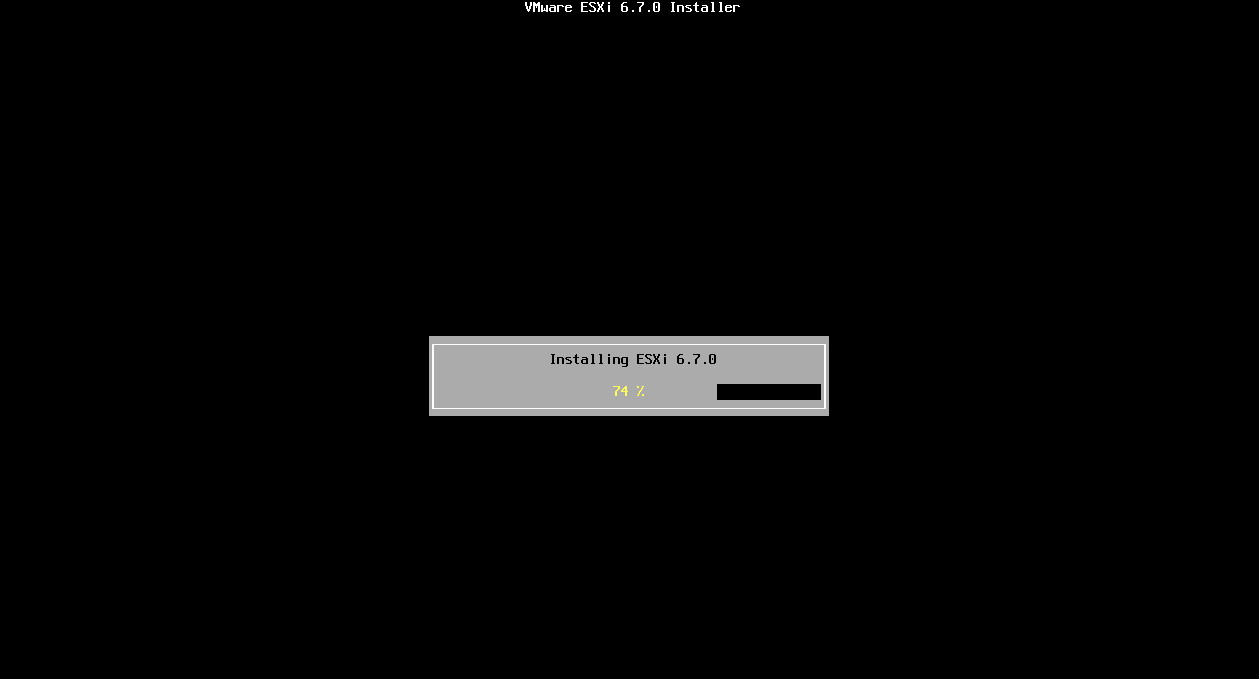
-
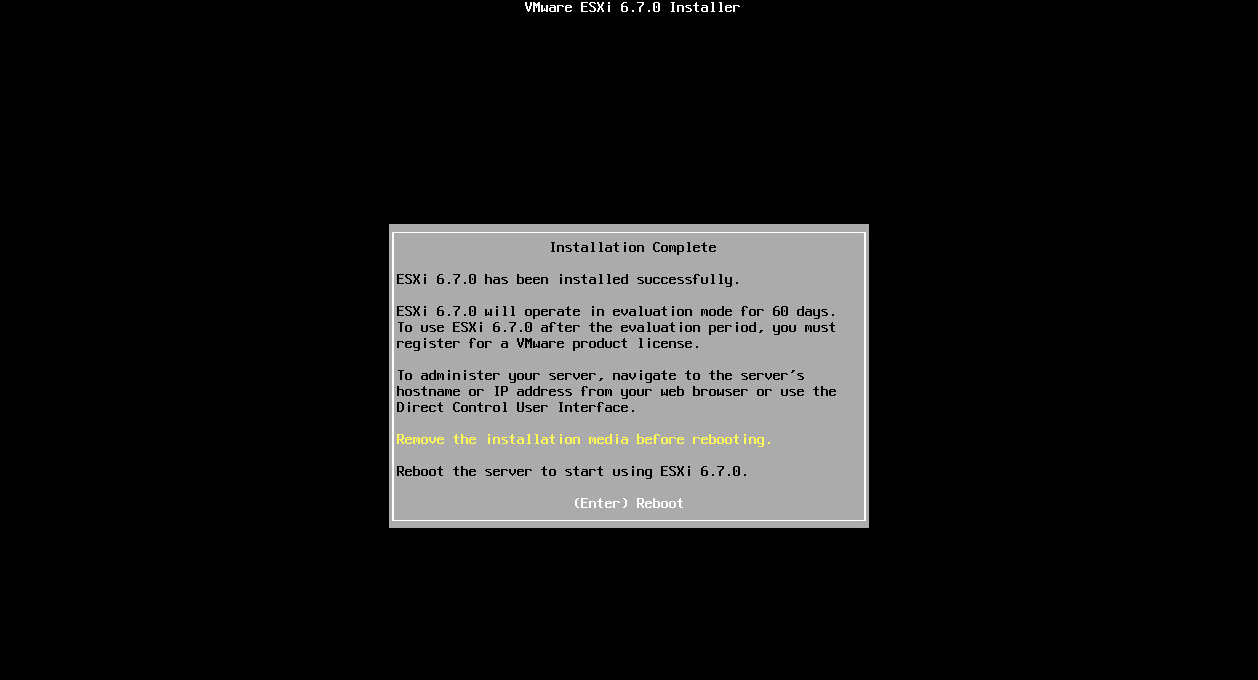
When the installation is complete, remove the installation CD, DVD, or USB flash drive.
-
Press Enter to reboot the host.
-
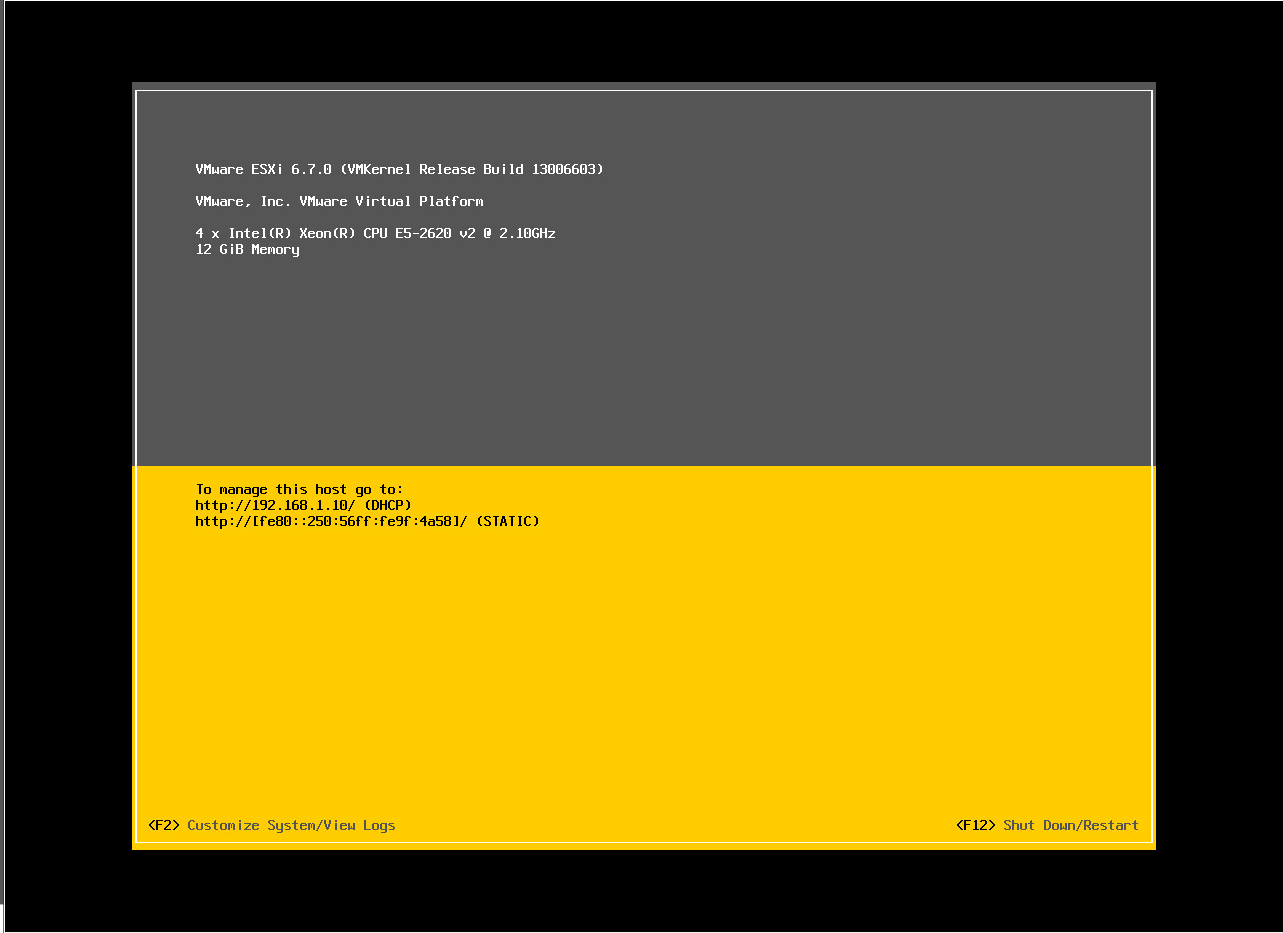
Set the first boot device to be the drive on which you installed ESXi.
Basic Configuration of the ESXi Host
- Access EXSi CLI host using console
- Configure Management Network (set static IP).
- Troubleshooting Mode Options (enabling EXSi shell and SSH access).
- Access EXSi dashboard, open EXSi IP Address on web browser.
- Install license key through manage > licensing > assign license
Troubleshooting Notes
 Disable IPv6 and reboot EXSi host
Result :
